How do I tell how much space I have between the plaster and lath?
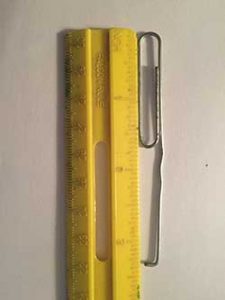
Straighten the long leg of a large paperclip out, then bend the tip into a 1/8” “L”. Drill a hole through the plaster until it hits the wood lath. (You may feel the drill jump a little bit if there is space between the plaster and lath.)
Stick the bent end of the paperclip into the hole until it hits the lath. Then, using a marker, make a mark on the paperclip, where the plaster surface meets the paperclip. Next pull the paperclip out of the hole until the “L” catches on the back side of the plaster. Make another mark where the plaster surface meets the paperclip.
The distance between those two marks is how far the plaster is from the lath.
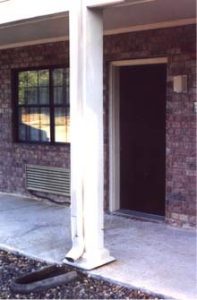 Out and about on plaster repair jobs, we sometimes come across “situations” that have us scratching our heads in wonder. And sometimes, the situations are so interesting, we have to snap a photo. Here is one such photo.
 What kind of tools do you need for plaster repair with Plaster Magic®?
 Our plaster repair tip for today is coming straight from a new customer.
 We’re happy to announce the release of our new, specially-formulated Plaster Magic®Patching Plaster. Rory, the founder of Plaster Magic®, has been developing it through trial and error for many many years. But finally, a patching plaster that is designed specifically to complement old and historic plaster is available for purchase.
 With Plaster Magic® specially formulated Plaster Magic®