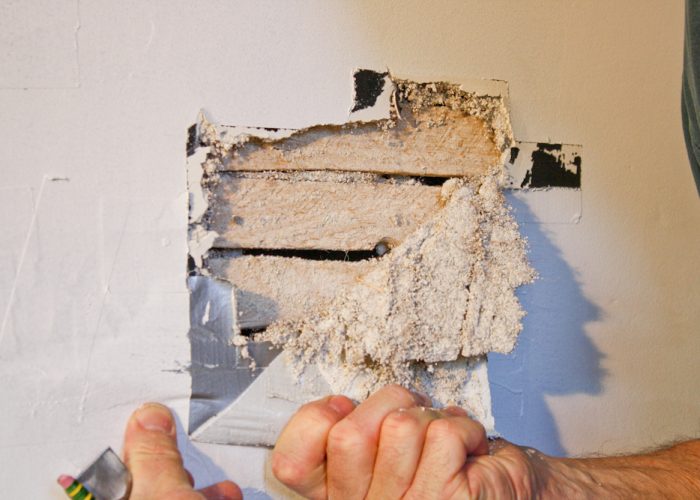
 Patch Prep: duct tape was covering holes in the plaster, this was removed
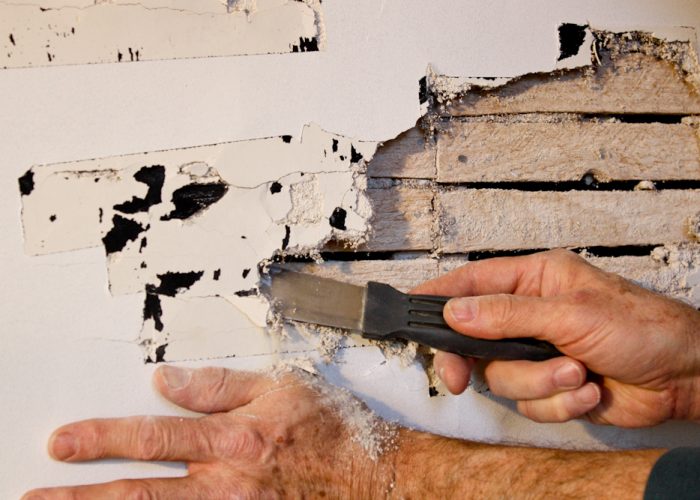 Patch Prep: a minimal amount of very weak and crumbly plaster was removed
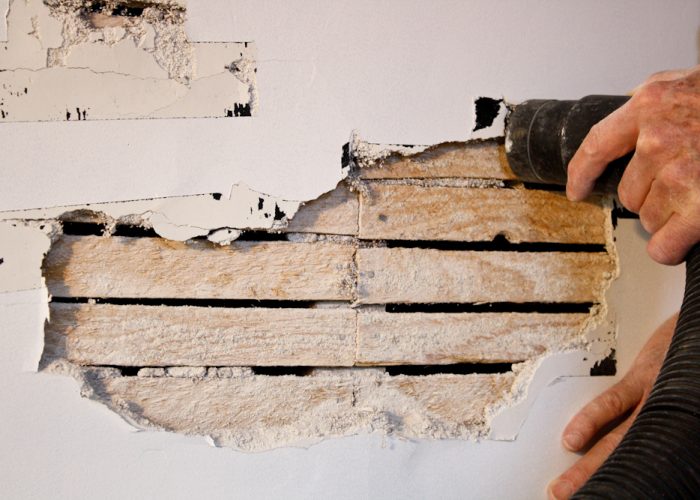 Patch Prep: the patch hole, lath and edges was vacuumed
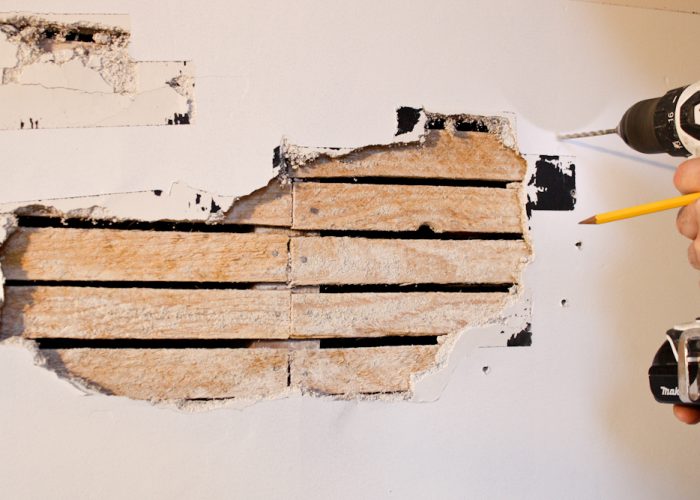 Drilling: an injection hole was drilled to every lath around the perimeter of the patch hole and along every crack
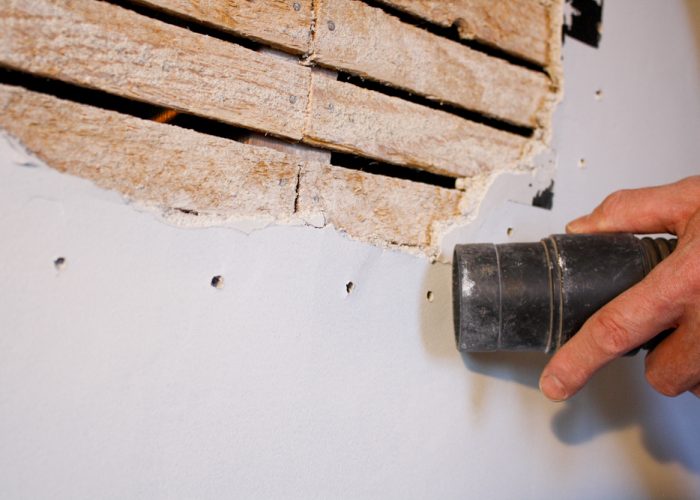 Vacuuming: all the drilled injection holes were vacuumed out
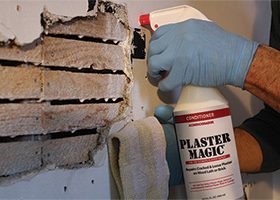 Conditioning: every drilled injection hole was squirted with conditioner to soak the back of the plaster and the front of the lath—the patch hole was sprayed with the conditioner, special attention was paid to soaking the edges of the old plaster and the lath—this binds up and consolidate the dust giving the adhesive and patching plaster firm surfaces to attach onto
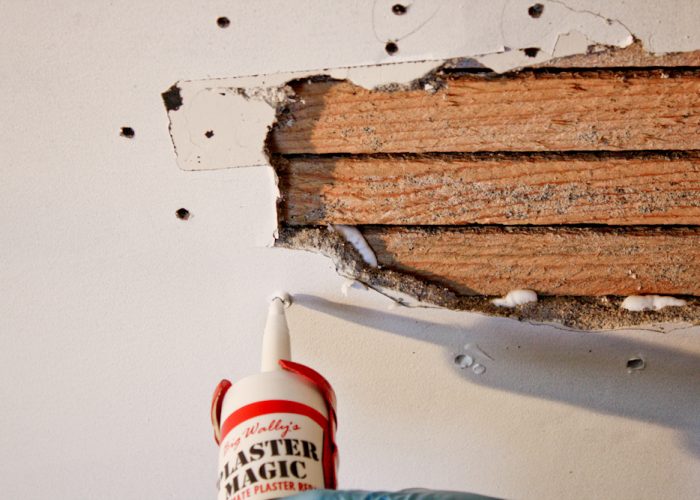 Gluing: approximately one half to one handle squeeze (or until you can see the adhesive) in each drilled injection hole
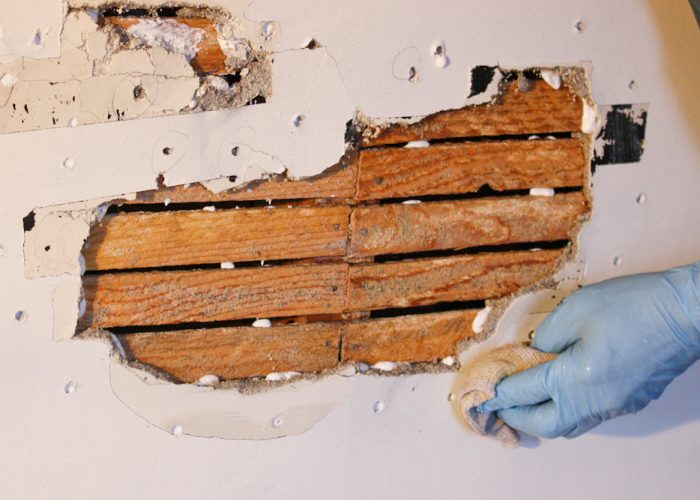 Cleaning: a damp sponge or rag is used to remove the excess adhesive before it sets up
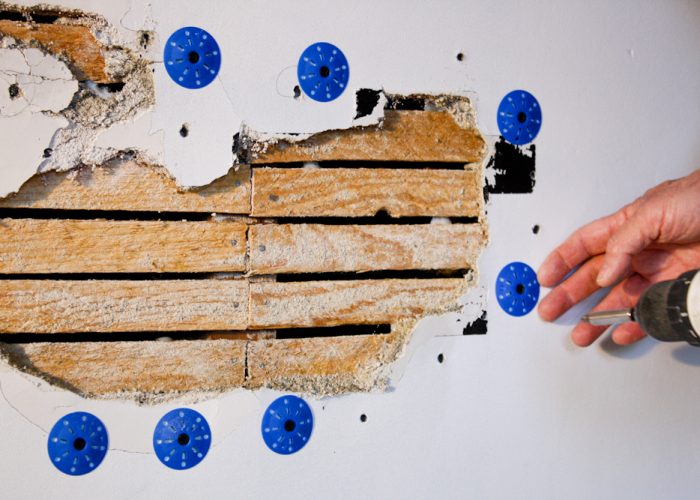 Clamping: the plaster is clamped into soft contact with the lath, paying special attention to the very loose plaster and the edges of the patching hole
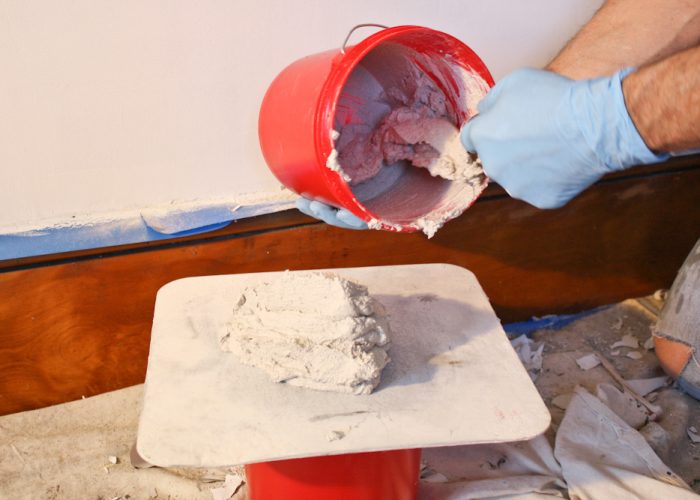 Mixing (Patching) Plaster: sift the patching plaster mix into water, stirring until it reaches a peanut butter consistency
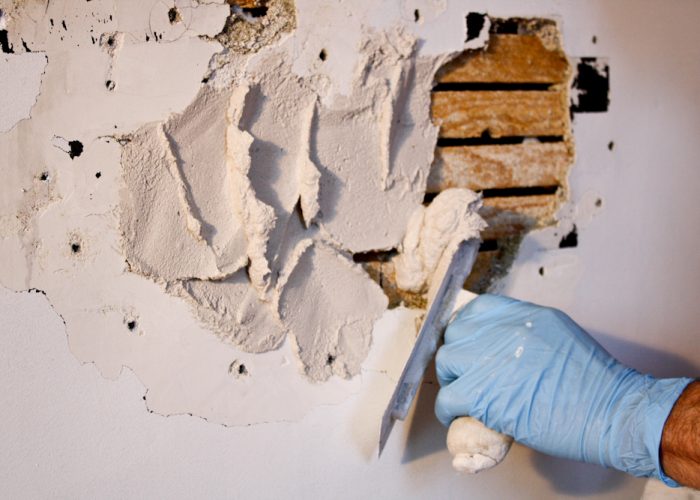 Plastering, Patch: using a small trowel press the putty-like patching plaster onto and between the lath, filling the hole, don’t worry about getting it perfect
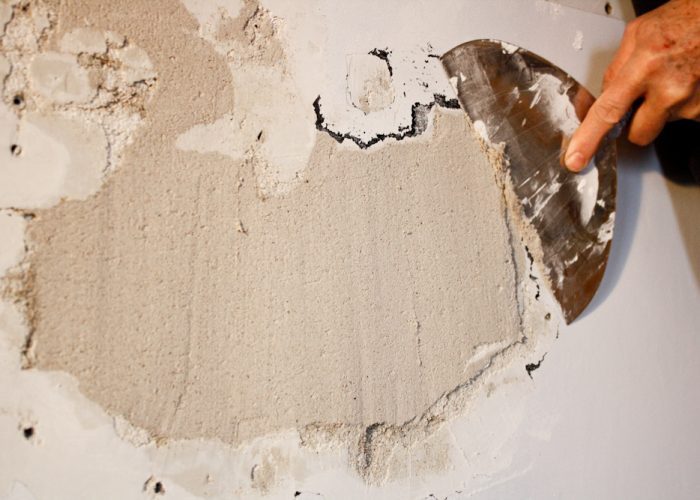 Scraping: just as the patching plaster has set, scrape it smooth with a putty knife, defining the patch perimeter first, and making sure there is nothing above the grade of the surrounding original plaster
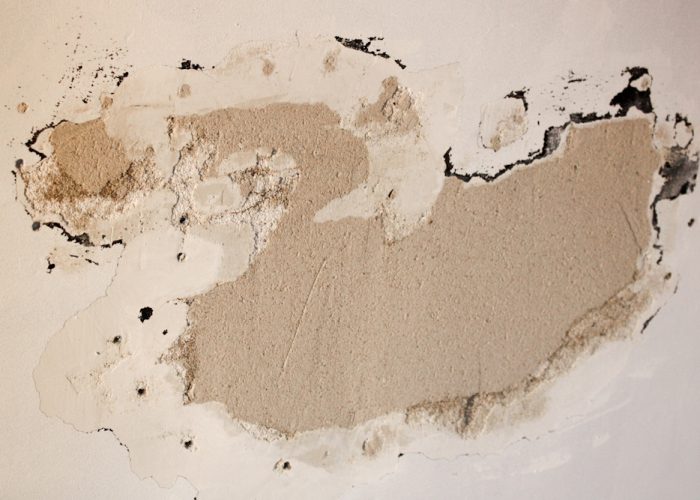 Smooth: when you’re finished scraping this is how it should look
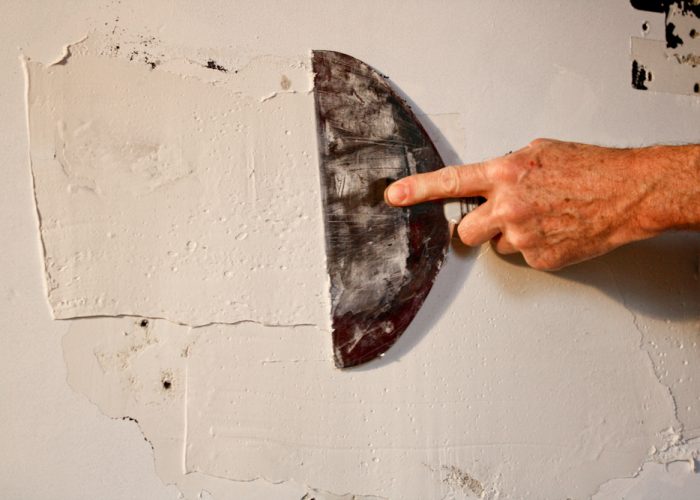 Finishing: apply three very thin (so thin you can see the wall through each layer when its wet) layers (letting the compound dry between layers) over your patch and crack injection holes, scraping ridges and bumps off between layers
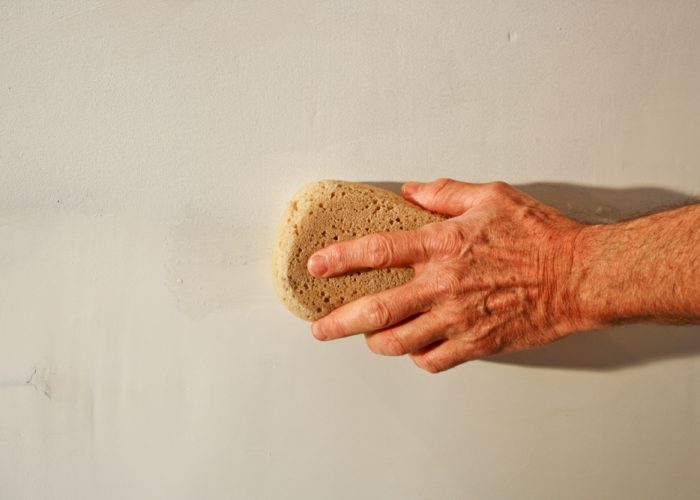 Cleaning: after the last layer has dried and been final scraped, run a damp sponge over to finish it smooth
